
We're nearing little Levi's first birthday as I'm writing this post, so of course I'm sitting here in a puddle of tears looking at all these teeny tiny Levi pictures. Kidding. Almost.
Right now, poor baby is struggling with an ear infection and a bad cold, so while he's actually napping and the rest of the crew is off at church, I thought I'd finally share this tutorial. =)
Right now, poor baby is struggling with an ear infection and a bad cold, so while he's actually napping and the rest of the crew is off at church, I thought I'd finally share this tutorial. =)
I think it's funny that I had never even heard of or seen one of those popular DockATot when the idea for this little baby pillow entered my mind. I was thinking primarily of having something that would nestle in between my husband and I on our bed to keep baby elevated, and possibly swaddled, and out of harm's way (is, us rolling over on him, which never even remotely happened, but still...).
Levi looooved his baby sleeper pillow. He had us all fooled into thinking that he was going to be such a great sleeper.
It was the pillow.
I would actually see his little body completely relax and sink into that pillow, and he looked so content. He slept on his pillow for at least the first six weeks, but around two months, he was showing signs of rolling over and pulling things toward his face, which meant bye-bye baby pillow. It clearly was no longer safe for him to use.
The day he outgrew it will remain one of the saddest days of our lives. We haven't had more than a handful of decent nights since.

Okay, so here are the directions for making your own. It was simple and straightforward, my kind of project.
If you have zero interest in reading this tutorial, feel free to scroll to the end and ooh and aah over adorable newborn photos. :)
Also, I apologize in advance for both wonky angles and weird lighting. I was very pregnant when I made this thing...maybe that had something to do with it? ? ?
Choosing your material
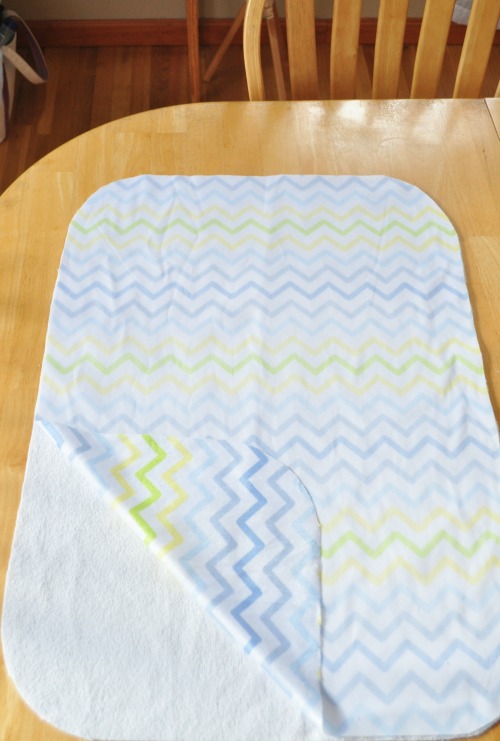
I opted for a soft minky fabric (I used a coupon on JoAnn's) for the top side, and a lightweight terrycloth for the back of the main pillow. For the built-in swaddle, I used the the chevron minky fabric for both the top and back. One word of caution when using minky: there is an obvious nap, so be careful to sew pieces with the "smooth" finish going in the correct direction.
If you don't want to use minky fabric, you could certainly opt for a quality cotton or knit, maybe even use a knitted sheet to cut up- whatever you prefer, as it does not need to stretch. I would avoid flannel or other heavier materials, as that might make baby a bit too hot.
The basic shape of the pillow
I used a standard pillow to outline the baby pillow. I knew I wanted rounded corners and some type of built-in swaddle, but one that could be pushed to the side or back if I didn't want to use it.
Cut out your top and backing fabric the same shape. Do not sew these pieces together just yet.
The swaddle piece
I designed mine to be long enough to loop around a button on the underside when it was being used as a swaddle. The straight edge on the right will be sewn into the side of the baby pillow; the curved edge will have a piece of elastic loop sewn in to fasten to the button on the back.
This piece is cut with the two minky fabrics.
**It measures approximately 25 inches long by 13 inches high, but if I were to make this again, I would shorten the height to about 11 inches, sew it closer to the bottom edge, and possibly not gather the curved end- more about that in a bit.
Pin right sides together and sew together, leaving straight edge open. Turn right side out.

The lighting is way off and this photo isn't necessary for the tutorial, but I have to include it because that's my little baby in there!
I was not one of those women who ever enjoyed being pregnant because I had difficult, complicated pregnancies, but it was very different this time. Even though I had morning sickness well into the sixth month, I think my perspective was completely different and I was just so humbled and thankful.

The swaddle piece is turned right sides out and pinned to the top piece of the pillow. I let it hang over the edge quite a bit because I didn't want any chance of it weakening and loosening up in the seam.
You could choose either side to attach it to, mine is obviously on the left.
The swaddle piece is not centered, either- I didn't want it to be too close to baby's face or mouth.
Now stitch the swaddle piece to the pillow to keep it in place. Remember the nap.

Now you're ready to form the sewing "sandwich"
Terrycloth doesn't have a wrong or right side, so it didn't matter, but you're going to pin right sides of the pillow pieces together. I folded up the swaddle piece on the inside to keep it out of the way when sewing. You want that curved edge to remain free and not be sewn into any part of the pillow.
Leave an opening in the pillow on the opposite edge from where the swaddle piece is sewn in order to turn it right sides out.

You can see the bulkiness of the swaddle piece, which was sewn into the side on the right
The opening is on the left of this photo.

It wasn't necessary to clip corners before turning right sides out, but you can if you want.
Here you can get a better sense of what it's going to look like.

Now you're ready to stuff the pillow. I overstuffed it the first time, so you may need to play around with it in order to get the right amount of "fluff."
Stitch the opening closed by hand, like I did, or with the sewing machine.

Stitch the opening closed by hand, like I did, or with the sewing machine.

You could choose to omit the tufts, but I felt they were necessary in allowing baby to nestle into the pillow rather than just resting on the top, if that makes any sense.
I will add that it was a slight challenge pulling up the needle in the exact spot where I wanted to form the tufts, and this was by far the most labor intensive part of the whole project.
I used a long needle and doubled the thread to make sure everything was very secure.
Each tuft probably has ten or more needle "pull-throughs"


**The swaddle piece felt a bit too wide for me- I wished I had sewn it farther down the side, too.
I gathered the rounded edge by hand and tacked it in place, and then attached a loop of elastic.


Here is a close-up of the gathered rounded edge with the elastic loop.
Ignore the discoloration on the chevron pillow - the cats have decided that they like this baby pillow, ha ha


I attached this solid wood button on the underside - see the wayward terrycloth pulls? Yeah, thanks kitties.


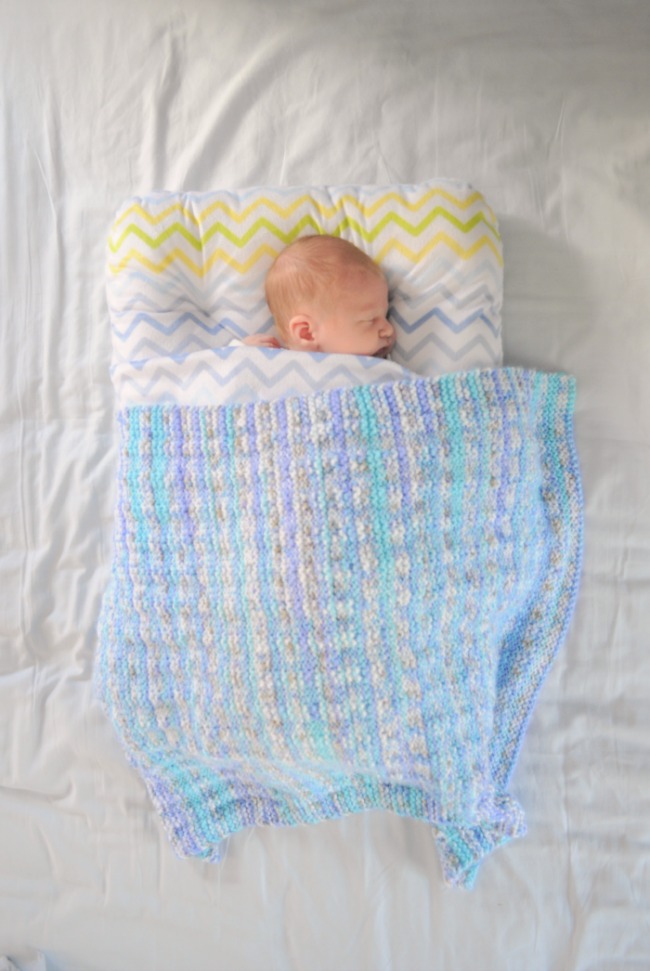
Here are those adorable newborn pictures I promised. :)
Levi loved his sleeper pillow.
And so did his Mama.
Levi loved his sleeper pillow.
And so did his Mama.


I shared a tutorial for a little girl's nightgown several years ago, and it just so happened to be the BEST maternity nightgown ever. I loved it! It was great post-partum as well, and perfect for nursing.
The tutorial is HERE.

Here is my little guy's baby quilt that I started the day before we left for Florida last year.
I remember having a hard time laying out the pieces on the floor and bending over them to move them around, ha! I love his quilt so much. I'll share a tutorial for it soon.


No comments:
Post a Comment